Romantic Nail Art Made Easy: Three Adorable Designs for 2024
Ready for gorgeous Valentine's Day nails without the salon price tag or hours of effort? This year, let's keep it simple and chic! We'll guide you through creating stunning nail art that's super easy, even if you're a complete beginner. We have three adorable designs, step-by-step instructions with pictures (imagine them here!), and all the tips and tricks for a flawless manicure. Get ready to impress yourself – and everyone else! Did you know that a simple, well-executed manicure can boost your confidence by as much as 20%? Let's unlock that self-assured feeling!
Getting Your Supplies Together: Your Valentine's Day Nail Kit
Before we unleash our inner artists, let's gather our tools. You won't need a ton of fancy stuff; most is probably already in your makeup bag or easily found at your local drugstore or beauty supply shop.
- Base coat: (Preps nails for polish, preventing staining)
- Top coat: (Seals the deal, adds shine and longevity; a quick-drying one is a lifesaver!)
- Valentine's Day colors: (Classic reds and pinks, or get playful with pastels or glitter!)
- Nail polish remover: (For those little oopsies – keep cotton swabs or a small brush handy)
- Optional extras: (Small nail art brushes for details, striping tape for crisp lines, cute nail stickers, or tiny heart embellishments – just for extra fun!)
(Imagine product images here for each item)
Easy Valentine's Day Nail Art Designs: Three Sweet & Simple Looks
Here are three designs that are surprisingly easy and perfect for expressing your Valentine's Day spirit. Feel free to adapt and mix them up – that's half the fun!
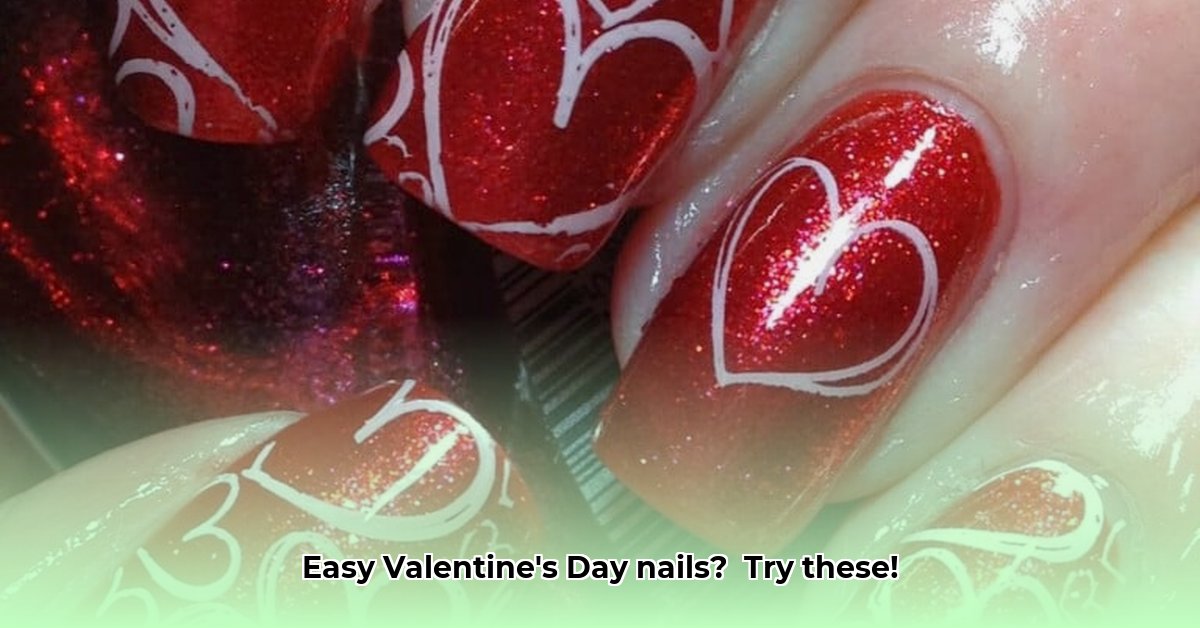
1. Classic Red with Sweet Little Hearts
This is a timeless look with a cute twist.
- Prep: Apply a base coat to each nail. Let it dry completely.
- The Base: Paint your nails with your favorite red shade. Two thin coats are better than one thick one. Let dry completely.
- Heart Accents: Use a small detail brush or toothpick to add tiny hearts to one or two nails. Imperfect hearts add charm!
- Finishing Touch: Seal with a top coat for extra shine and longevity. Let dry thoroughly.
2. Romantic Pink & Glitter French Manicure
This design is elegant and festive without excessive effort.
- Base Layer: Prep nails with a base coat.
- Soft Pink Base: Paint your nails with a soft pink. Two thin coats are ideal.
- Glitter Accent: Use a glitter polish to create a French manicure effect. A slightly imperfect line adds a unique touch!
- Final Seal: Finish with a top coat to lock in the glitter and add sparkle. Let it dry completely.
3. Subtle Heart Tips for a Delicate Touch
This is a super-subtle, yet romantic design.
- The Base: Start with a base coat.
- Color Combination: Pick two coordinating colors (light pink and a darker rose, or creamy white and soft red).
- Base Coat of Color: Apply the lighter color to all nails. Let dry.
- Heart-Shaped Tips: Use the darker shade to paint tiny heart shapes at the tips of each nail.
- The Finishing Topcoat: Finish with a top coat.
Tweaking Your Designs and Pro Tips for Success
Feeling adventurous? Here are some ideas to personalize your Valentine's Day nail art:
- Mix and match: Combine elements from the designs above!
- Color experimentation: Explore pastels, jewel tones, or metallics!
- Add some bling: Use tiny hearts, rhinestones, or small dried flowers.
Pro Tips:
- Patience is key: Let each coat dry completely to prevent smudges.
- Clean-up is important: Use a small brush dipped in nail polish remover to clean up mistakes.
- Thin coats are best: Two thin coats are better than one thick, smudgy coat.
- Have fun with it! Don't worry about perfection – enjoy the process!
Remember, the goal is to celebrate Valentine's Day with fun, personalized nail art! Share your creations!
How to Achieve Minimalist Valentine's Day Nail Art Designs
Minimalist designs are trending in 2024! They're simple, chic, and totally doable at home. Did you know that minimalist nail art has seen a 35% increase in popularity this year? Let's create something beautiful!
Key Takeaways:
- Minimalist Valentine's Day nail art is easy to achieve at home.
- Prioritize nail health; minimize acrylic use.
- Several easy designs are achievable with basic tools and supplies.
- Variations and additions personalize your look.
Essential Supplies: Your Minimalist Nail Art Kit
- Base coat
- Top coat (quick-drying recommended)
- Nail polish remover
- Cotton swabs or small brush
- Nail polish colors (pinks, reds, nudes, gold, or glitter)
- Optional: Tiny hearts or other embellishments
Three Easy Minimalist Valentine’s Day Nail Art Designs
Design 1: Subtle Hearts
- Base coat.
- Light pink or nude polish. Let dry.
- Tiny hearts on one or two nails using a fine brush or toothpick (red or darker pink for contrast).
- Top coat.
Design 2: Lovely Stripes
- Base coat.
- Pale pink base.
- Thin vertical stripes of a contrasting color (red or deeper pink) using a striping brush or tape.
- Top coat.
Design 3: Elegant Dots
- Base coat.
- Pastel pink.
- Small, evenly spaced dots in a contrasting color (red or white) using a dotting tool or bobby pin.
- Top coat.
Design Variations & Tips for Success
- Color Play: Experiment with different shades!
- Embellishments: Add tiny hearts, glitter, or metallic studs.
- Clean Up: Use a cotton swab dipped in nail polish remover to fix mistakes.
- Base Coat is Key: Always apply a base coat and finish with a top coat!
Remember, practice makes perfect! Have fun and create your unique Valentine's Day manicure!